 |
| the general layout in half. It's a basic t- tunic design |
 |
| French seams which last longer |
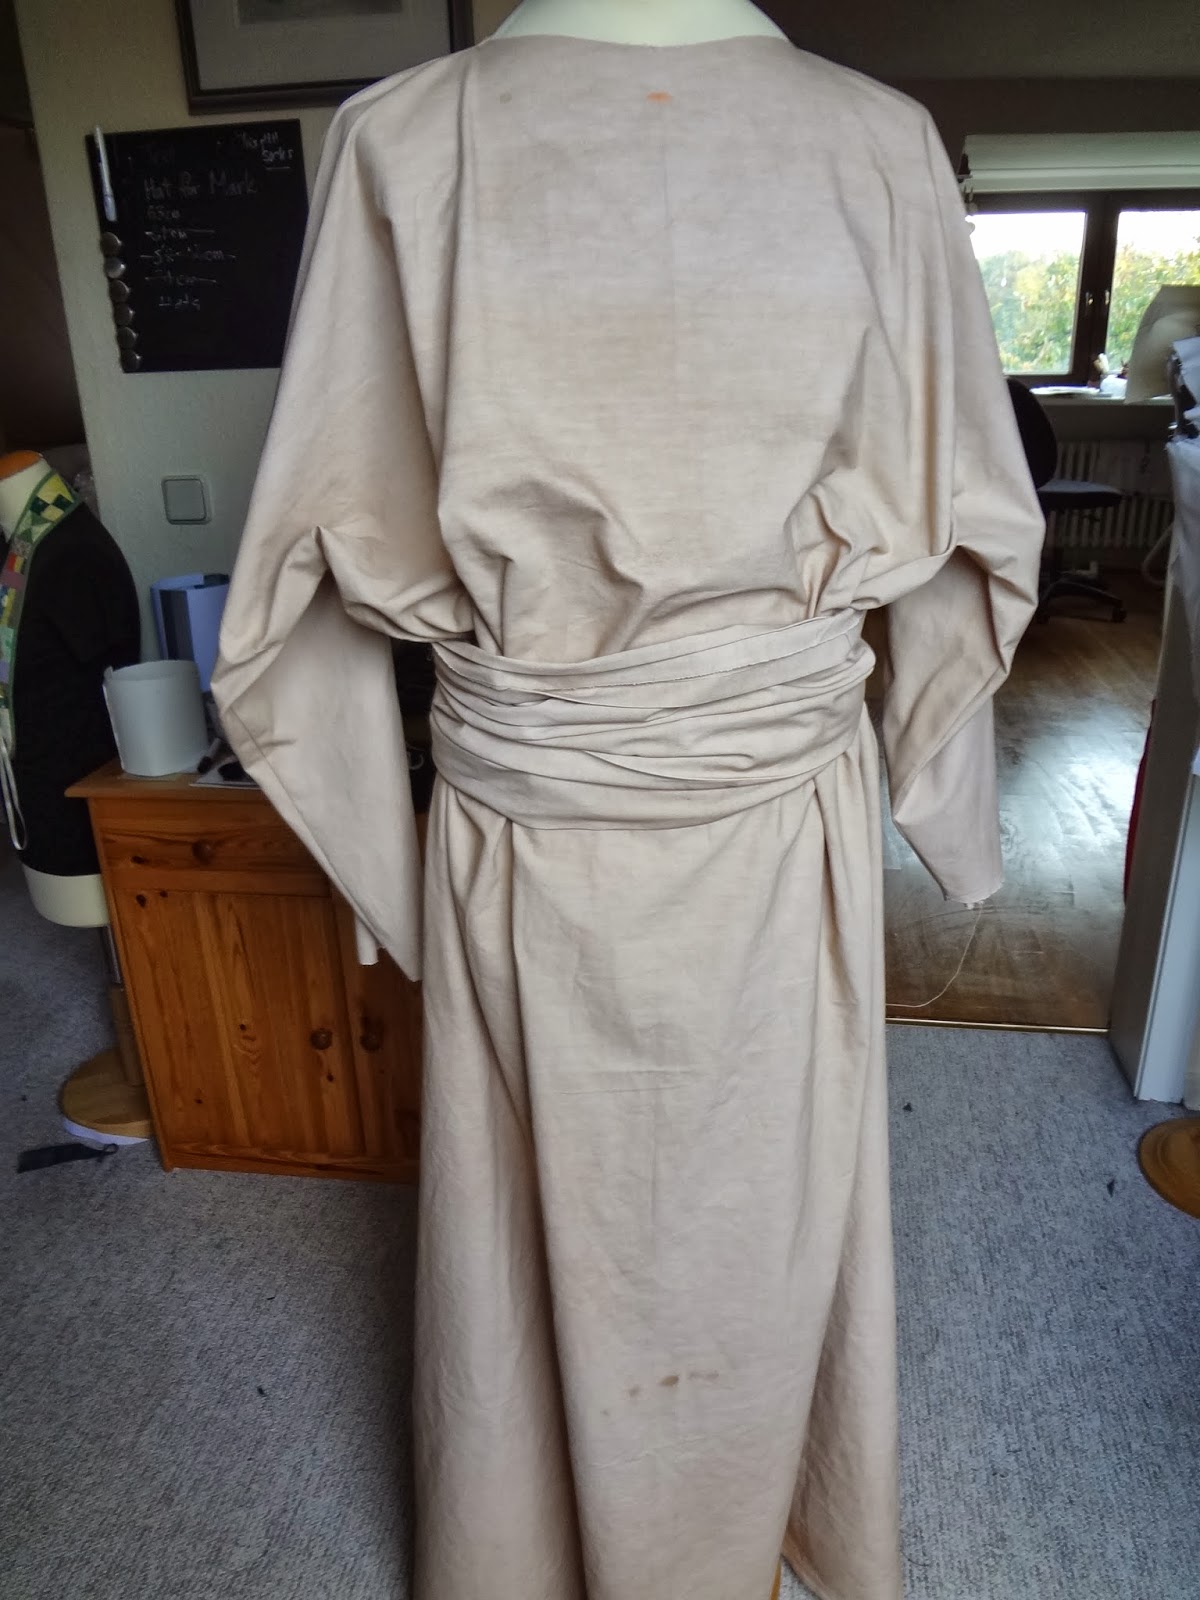 |
| with cummerbund |
 |
| how the cummerbund is attached |


|
| the general layout in half. It's a basic t- tunic design |
|
| French seams which last longer |
|
| with cummerbund |
|
| how the cummerbund is attached |
 |
| finished hats and unfinished hat pieces. |
 |
| stitching the stiffening to a side piece |
 |
| hat side pieces ( crown) sewn together now ironing out the seams. |
 |
| marking the middle ( makes it easier to add the hat top.) |

 |
| front / back flap, with stiff interfacing. |
 |
| snipping the curve so it will iron easier. |
 |
| turned right side out and ironed. |
 |
| the seams then get pinked. |

 |
| and once again ironed out. |
 |
| top stitched to finish the look. |
 |
| centre marked ( I do this by using an iron. |
 |
| two flaps done, the wrinkles get ironed out. |
 |
| making the hat brim |
 |
| pinking the seam |
 |
| the brim turned right side out |
 |
| this is what it looks like with the canvas duck and the interfacing both to make the brim stiff and not floppy. |
 |
| adding the deco lines. Imperial hats have either 5 or six. |
 |
| the finished brim. |

 |
| adding the top to the crown |


 |
| stitched and snipped ready to be turned right side out then sewn down. |

